CCRider
Coast to Coast
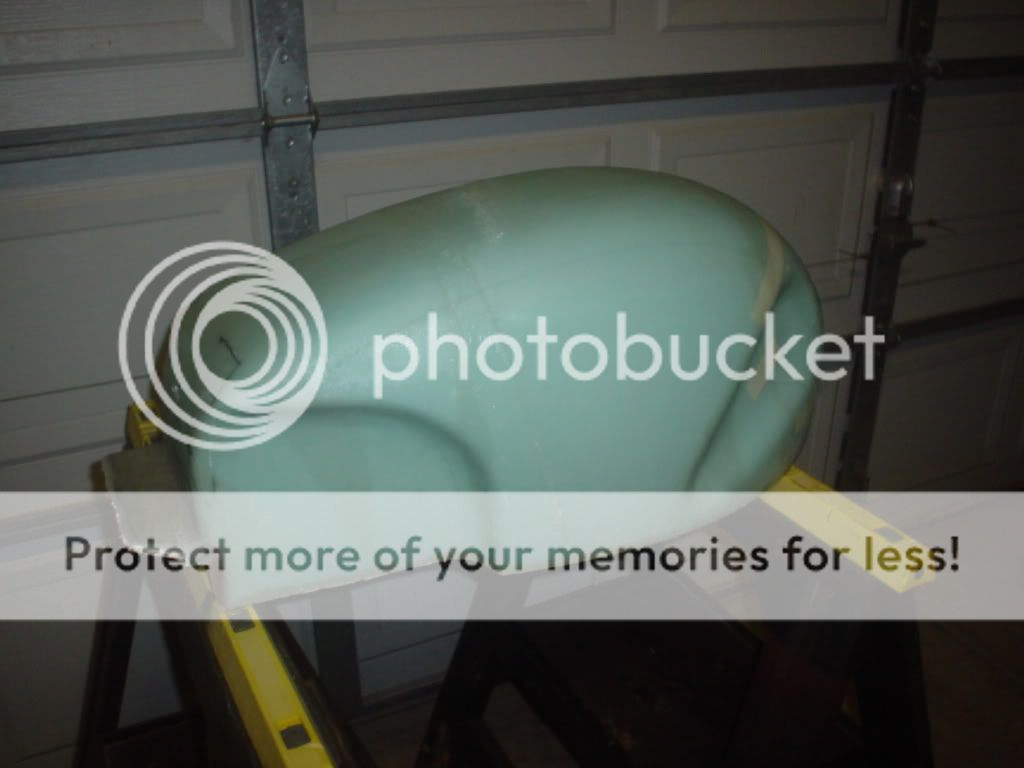
This is the story of building a fiberglass tank for my CB450.
Before I get into the meat of the build, allow me a few minutes to explain a few of the reasons I decided to go this route and why the design turned out as it did.
The reasons:
1. I wanted to end up with something unique and one-of-a-kind.
2. I like building things.
3. I like doing things the hard way.
4. I'm not very smart.
5. I like doing things the hard way.
The design:
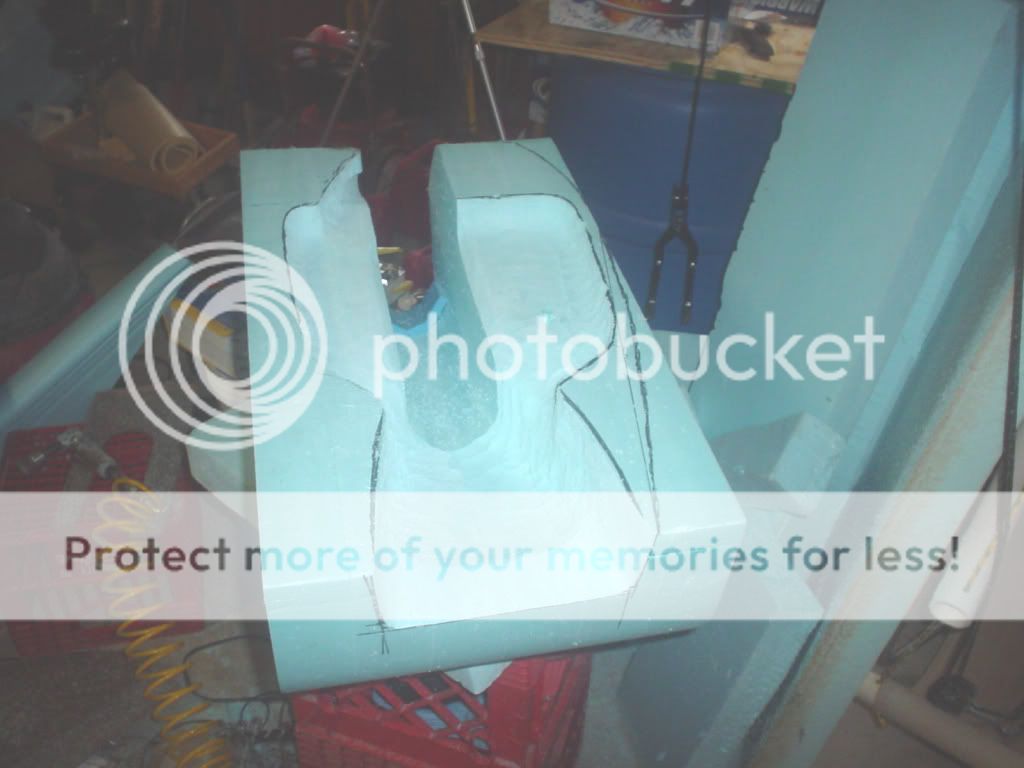
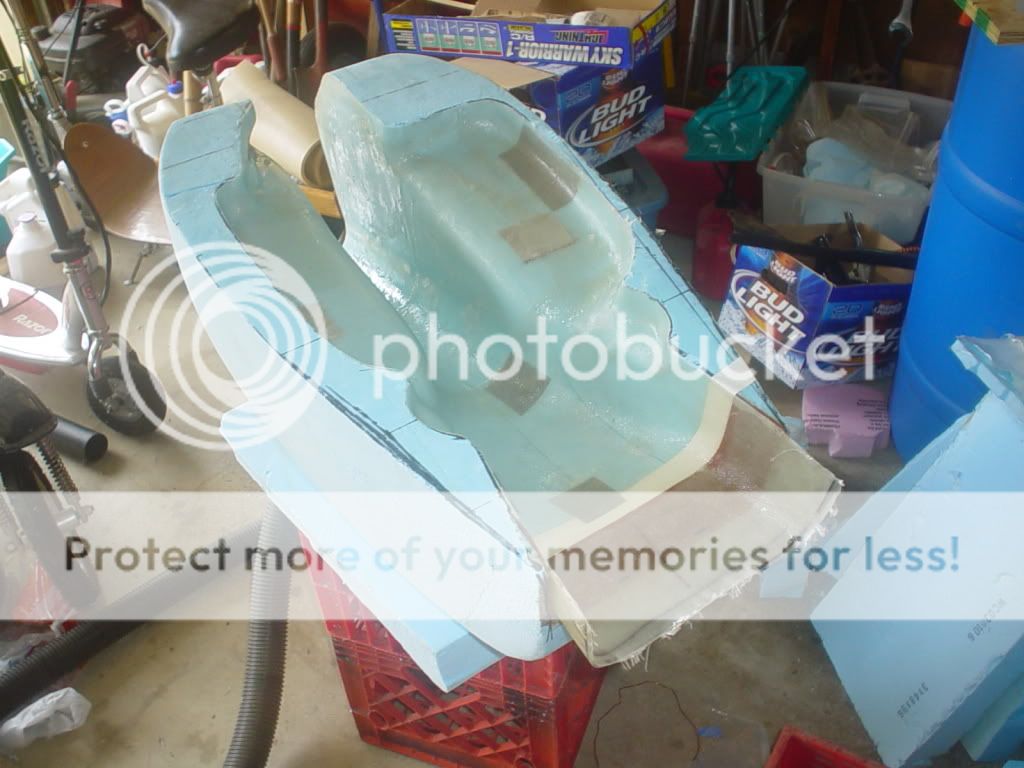
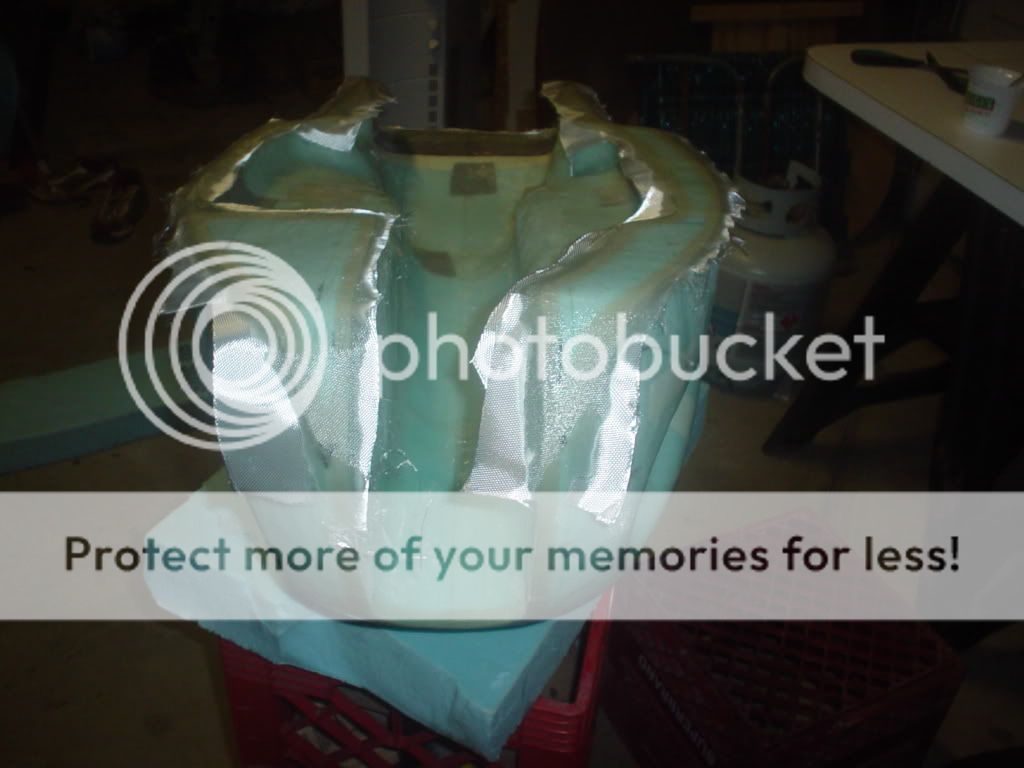
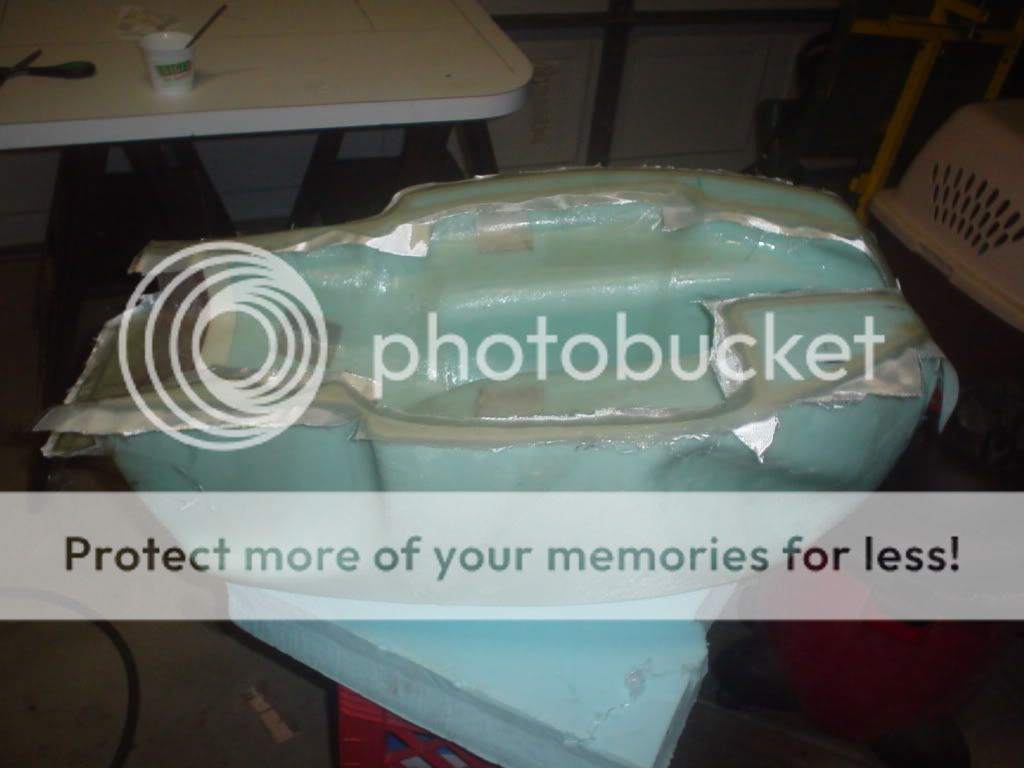
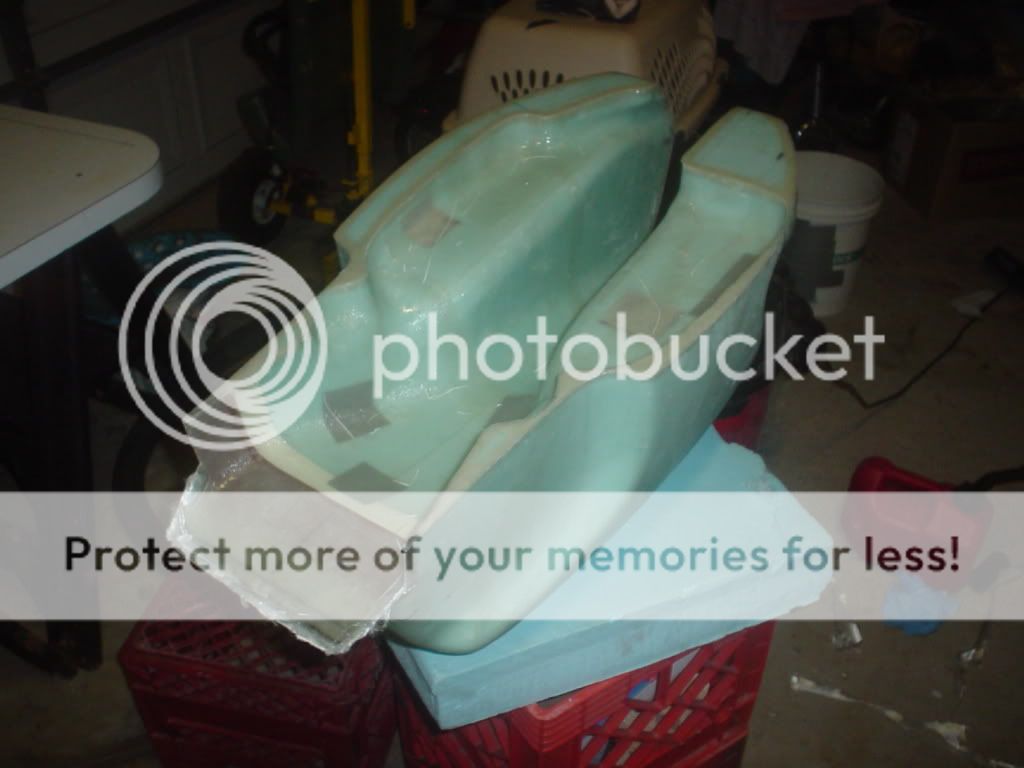
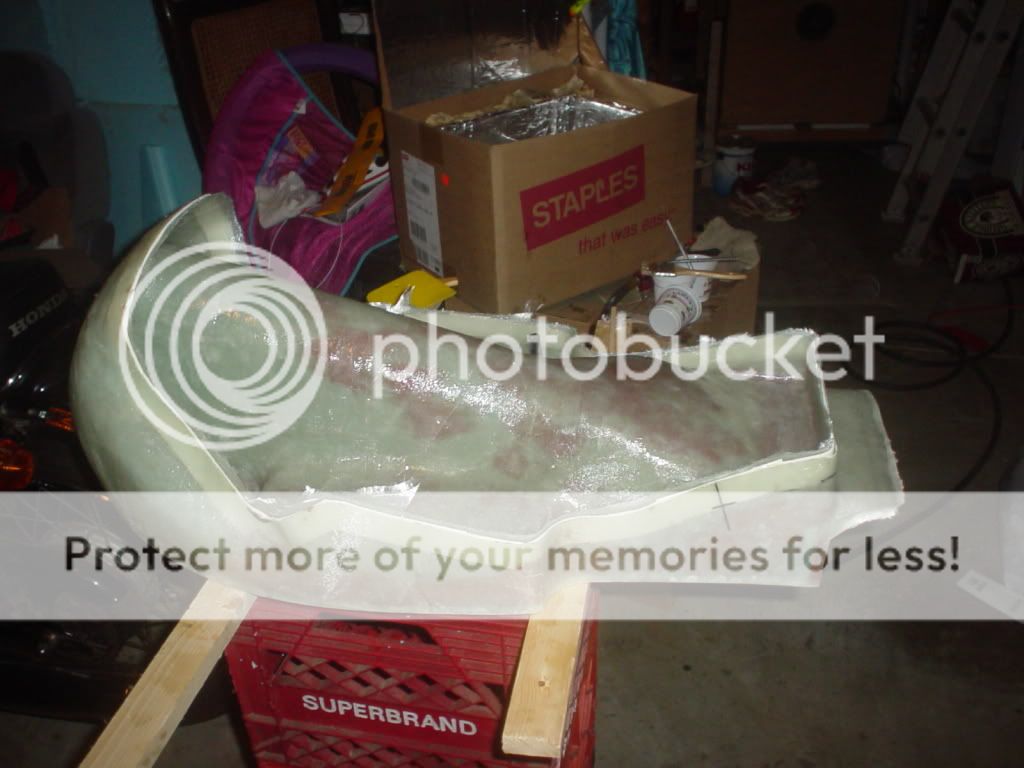
Since this was going to be a one-off tank, I saw no reason in going to the trouble and expense of making a plug and female mold. Althought a male mold has its own challenges (getting a good finish on the exterior and getting the foam out of the interior) I figured it would take less time and material to do it this way.
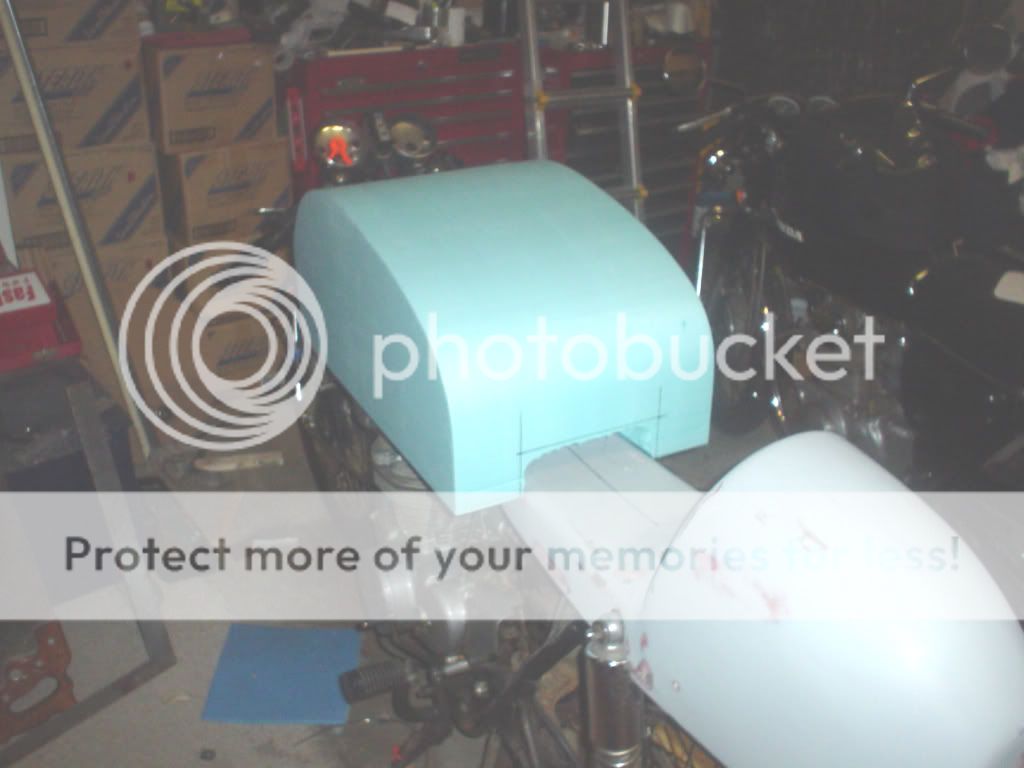
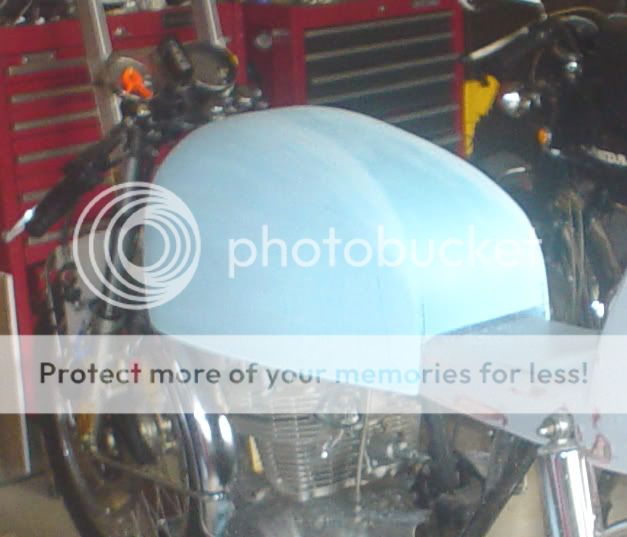
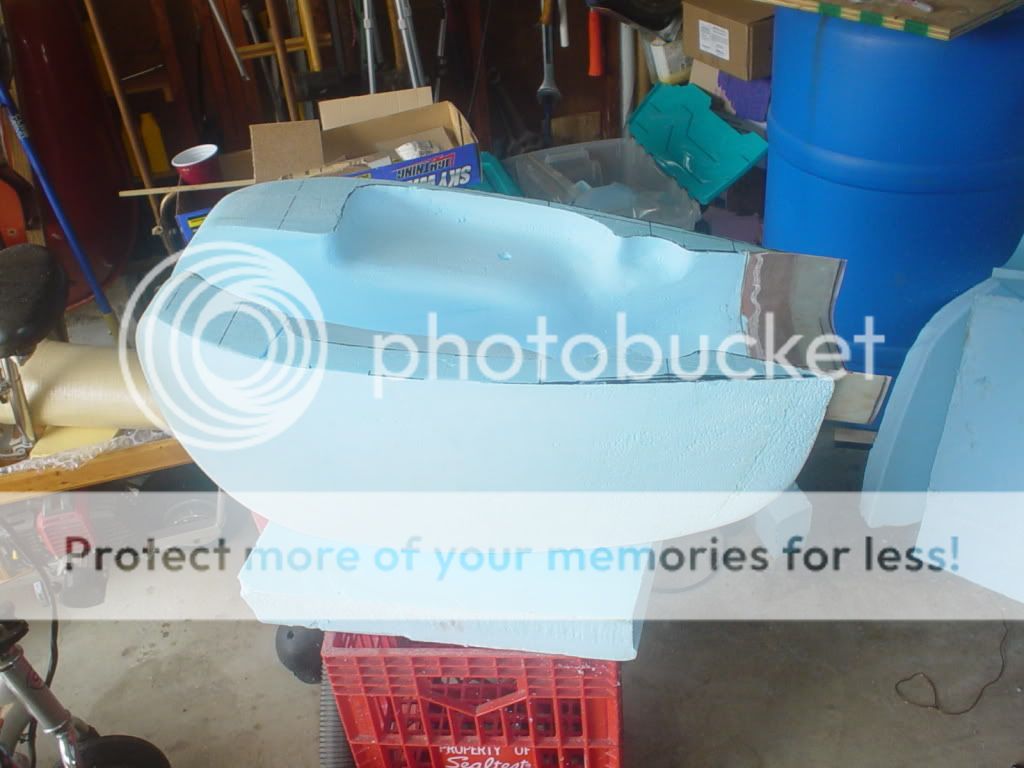
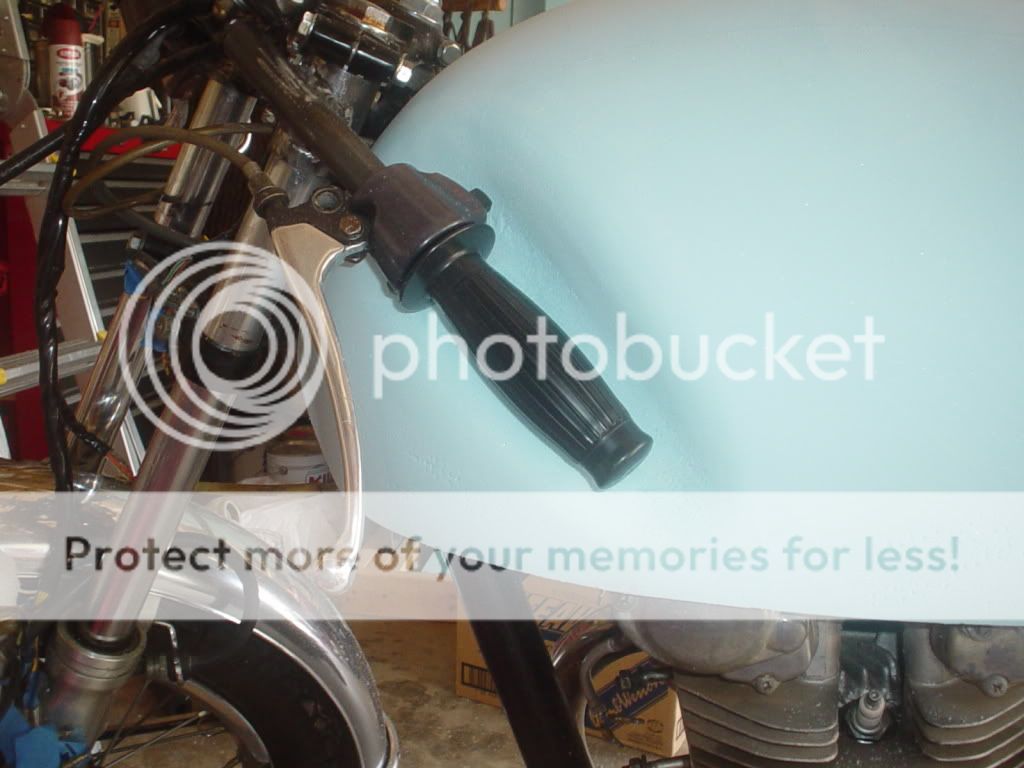
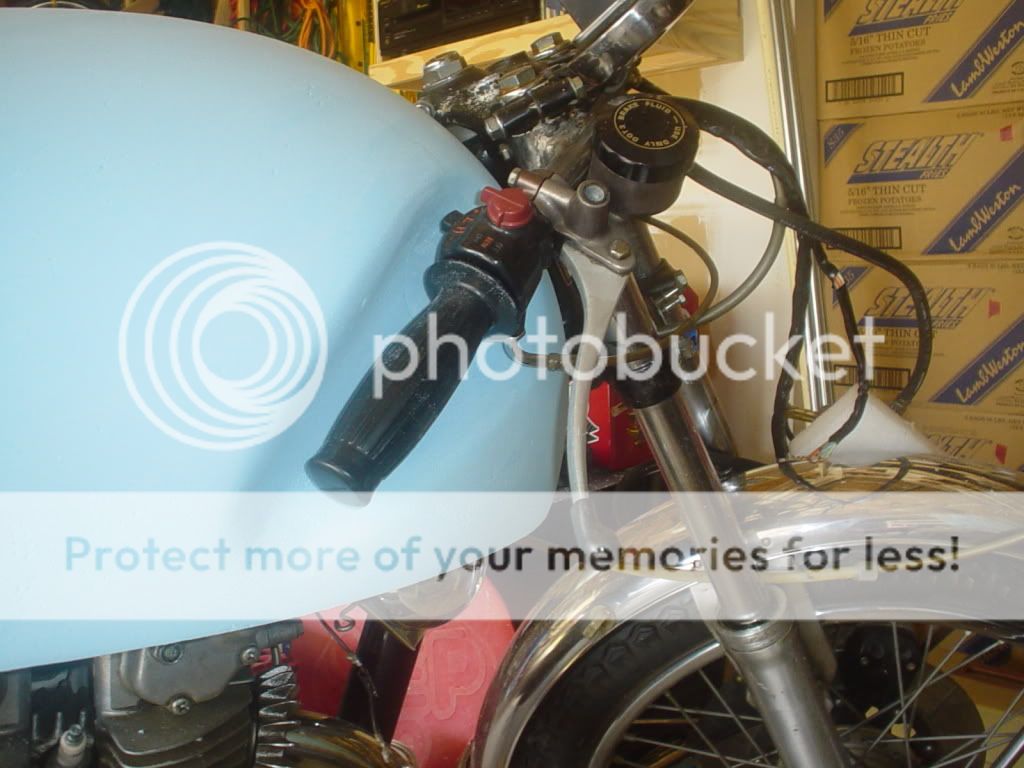
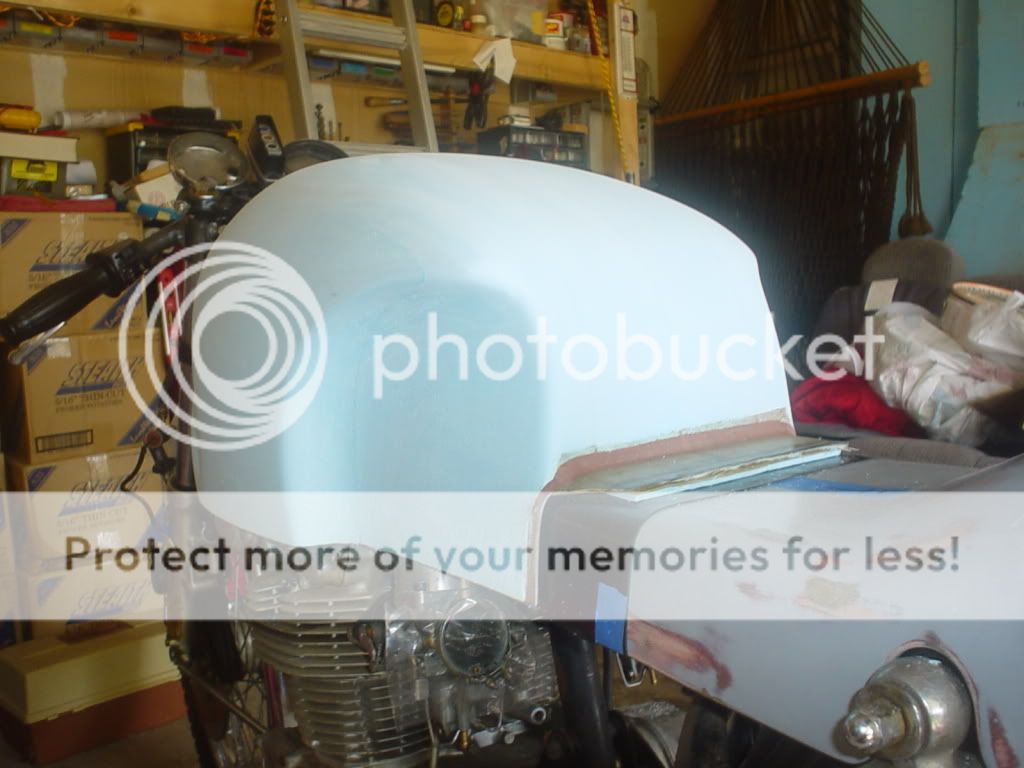
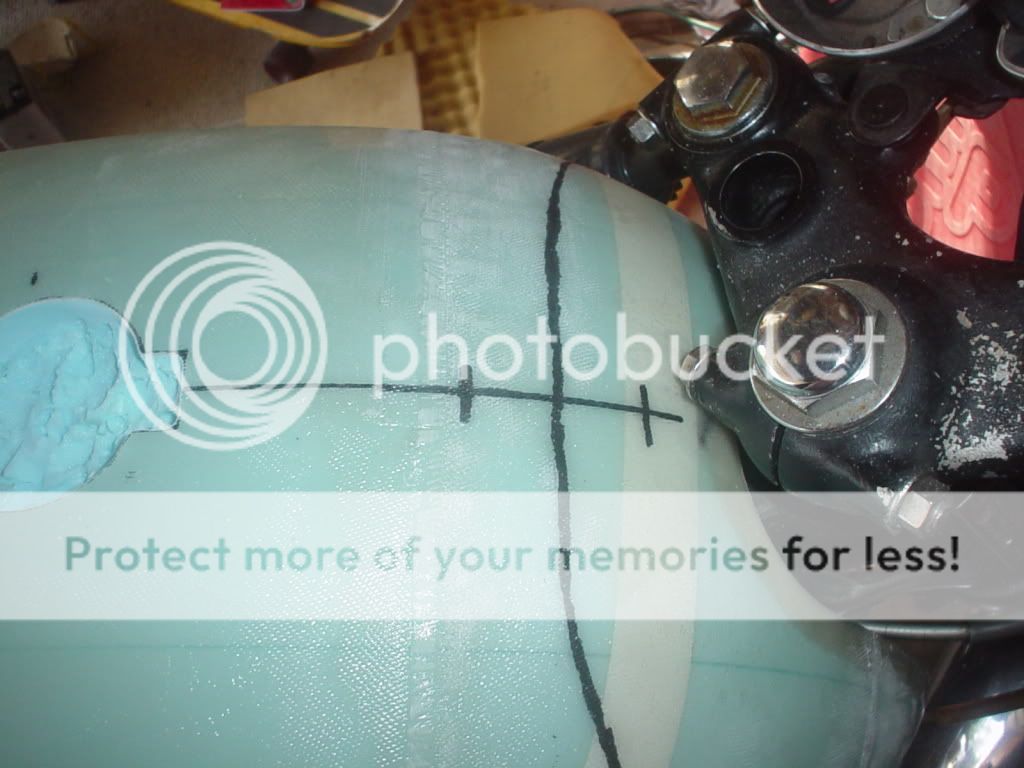
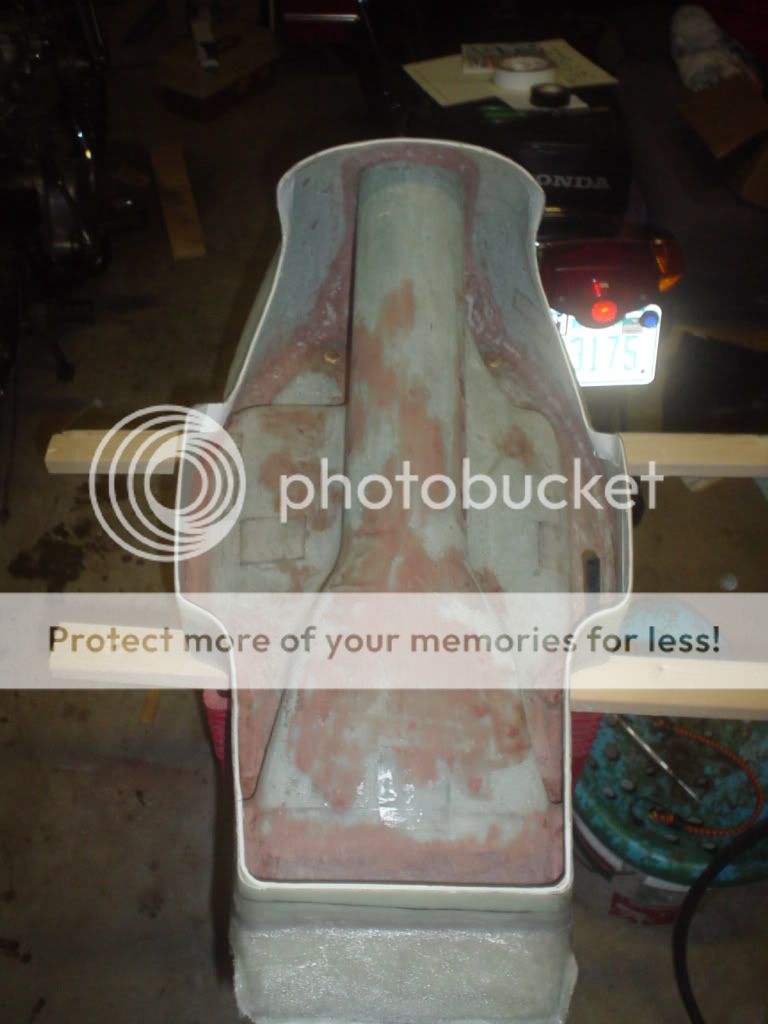
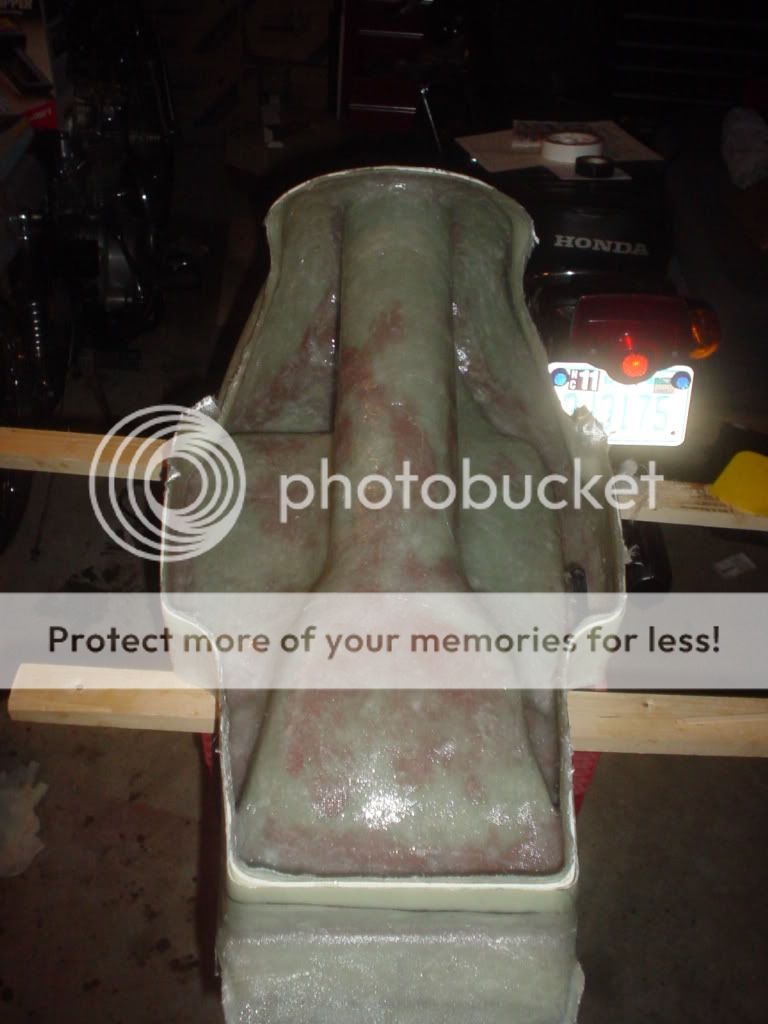
My design was overly complicated due to way I wanted the tank to work with my seat pan/cowl. When I built the seat pan (another story), I left a fairly long "skirt" around the bottom. I wanted the tank to match up with the pan, which required the tank to be low and actually wrap around the engine head. I 'm still not sure if this was a good idea, we'll have to wait for the bike to come together and see how it all looks finished. My seat also ended up with a pretty large cowl (recessed tail light and hiding a full sized battery), so I wanted a large tank to balance things out visually.
The materials:
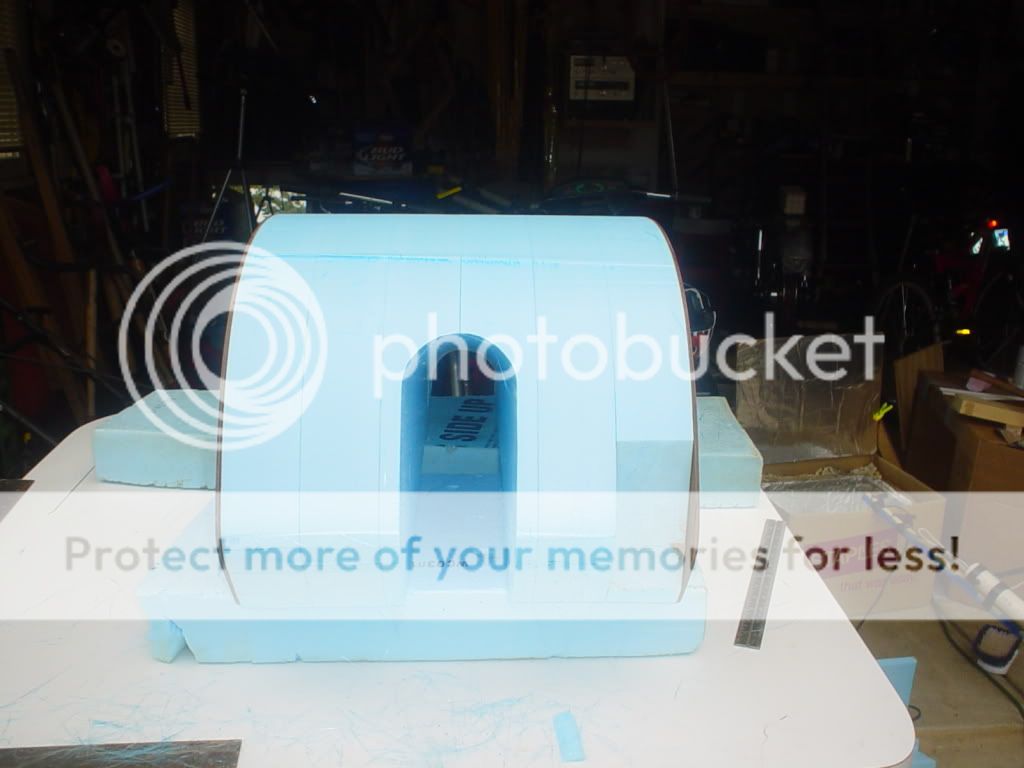
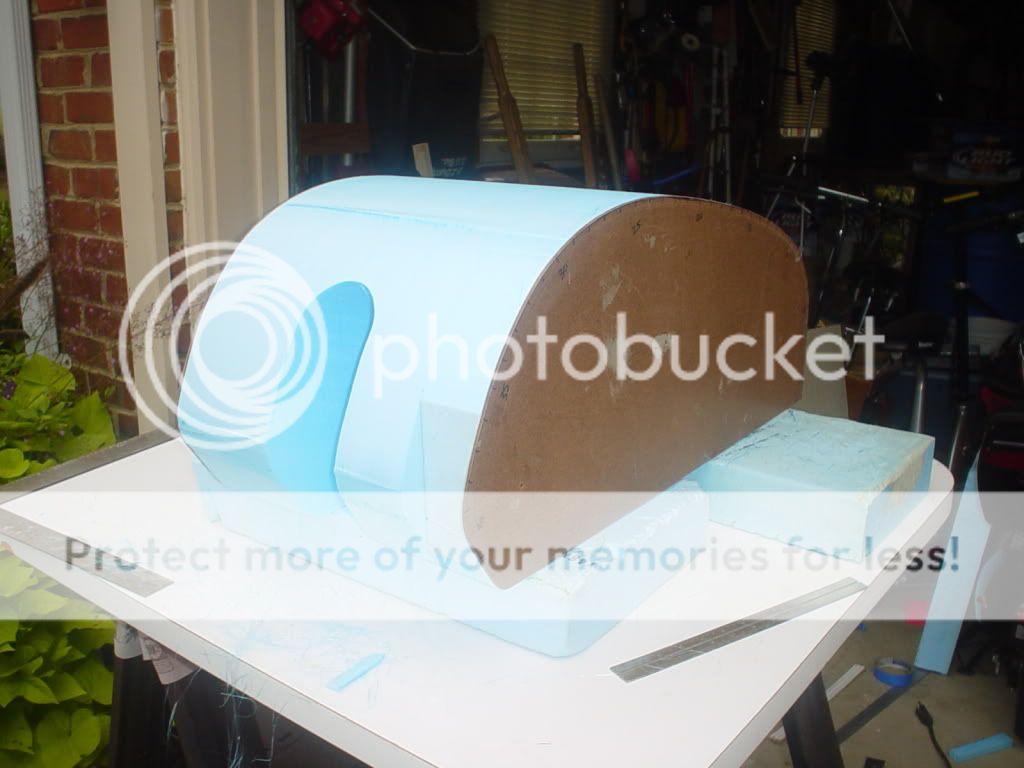
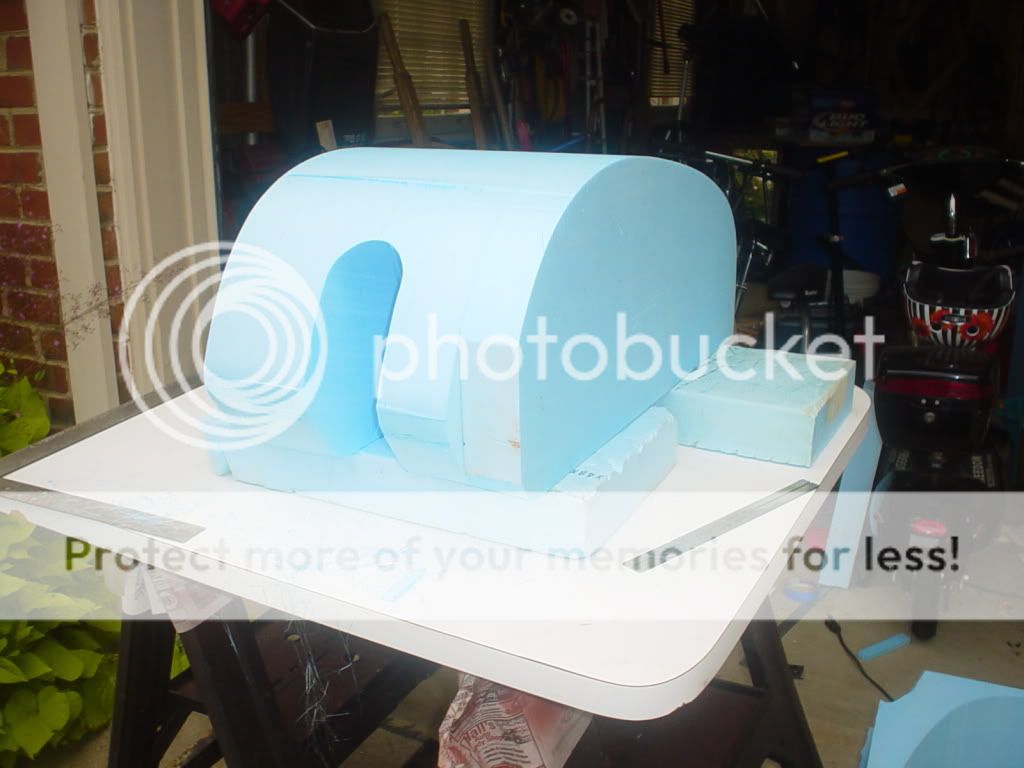
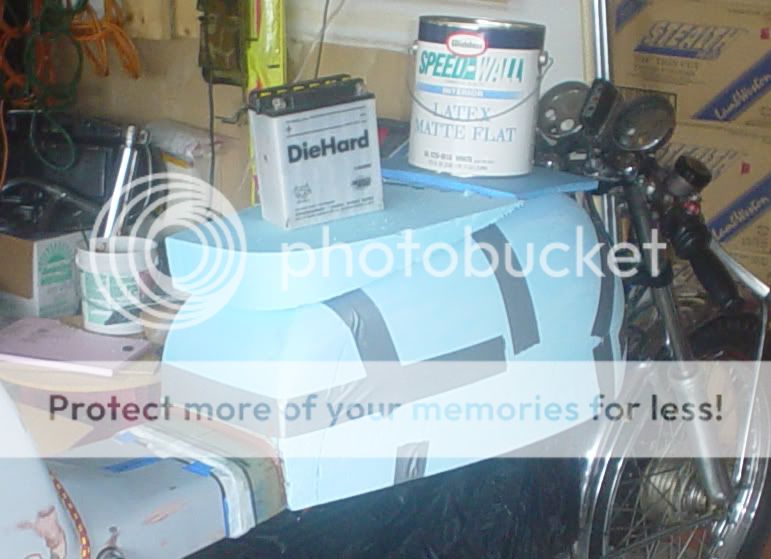
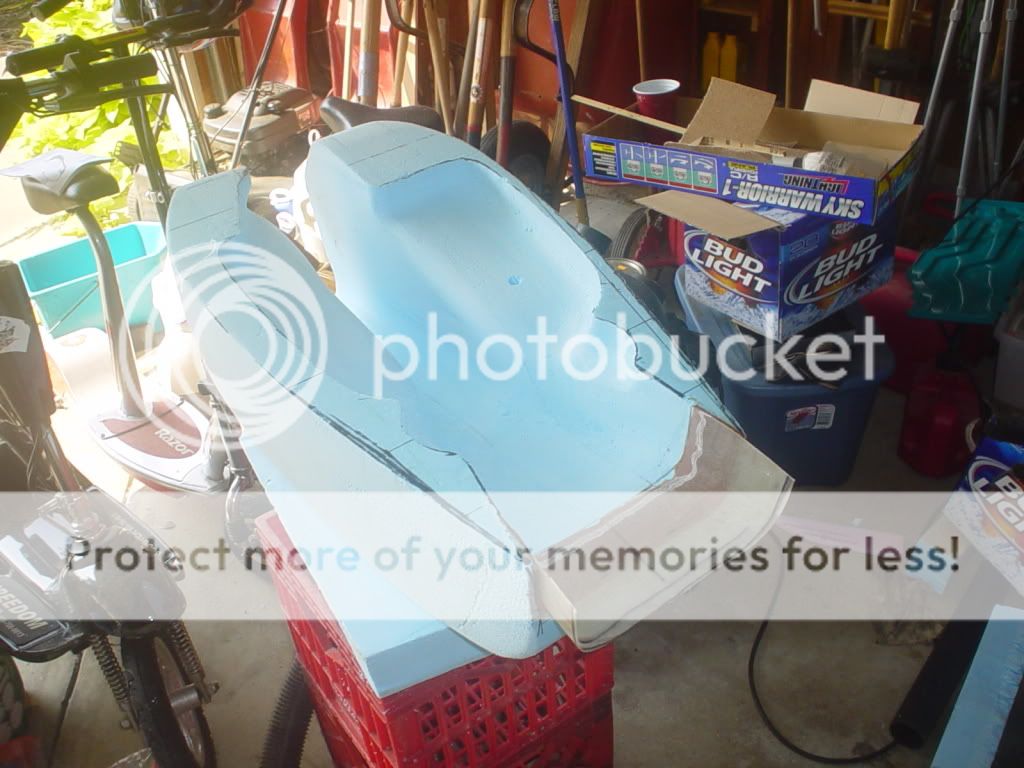
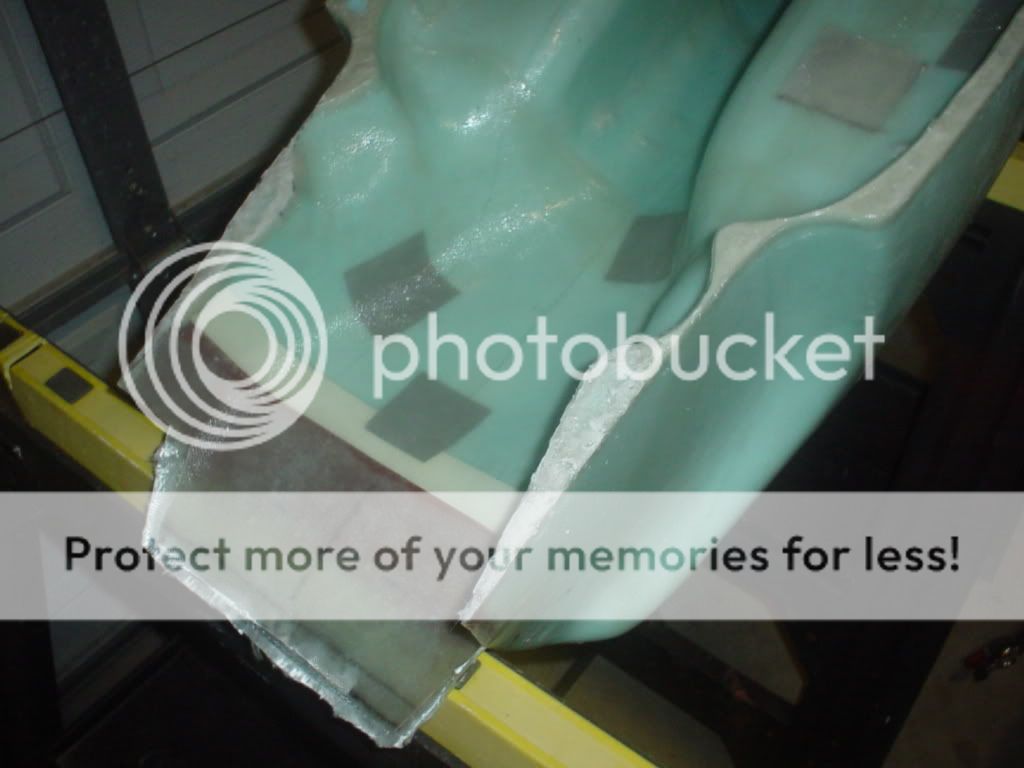
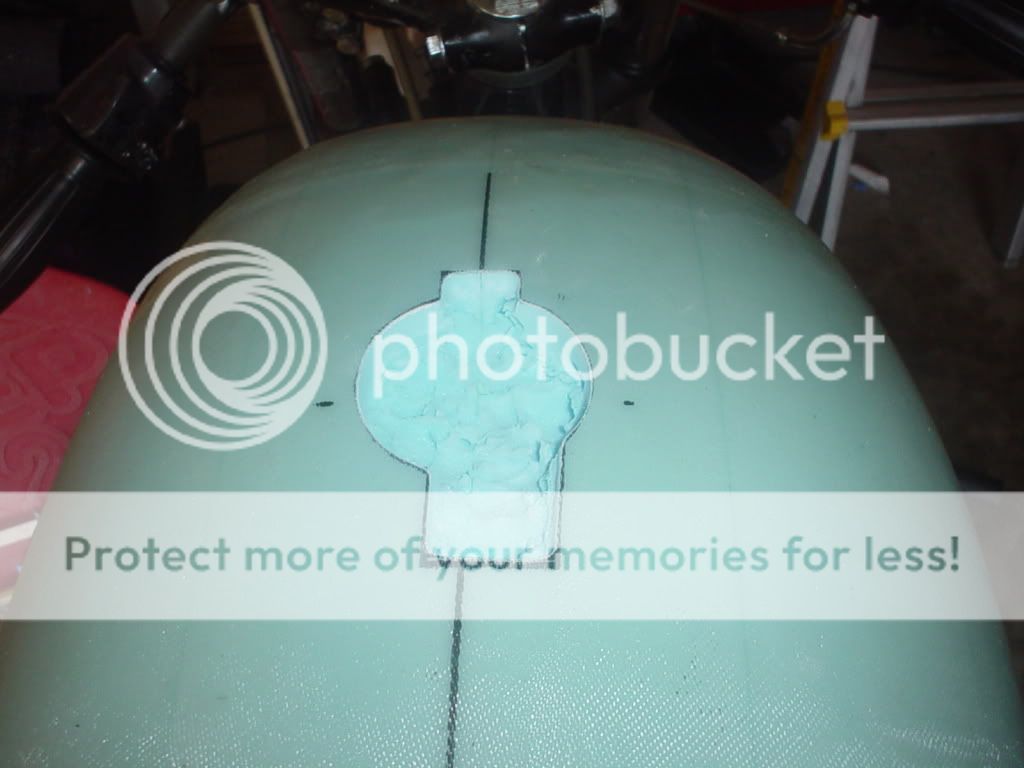
The mold was made out of your basic polystyrene building insulation. I work in the civil engineering/surveying business and I was able to collect some nice 3" thick scraps of insulation from a construction site where I was working.
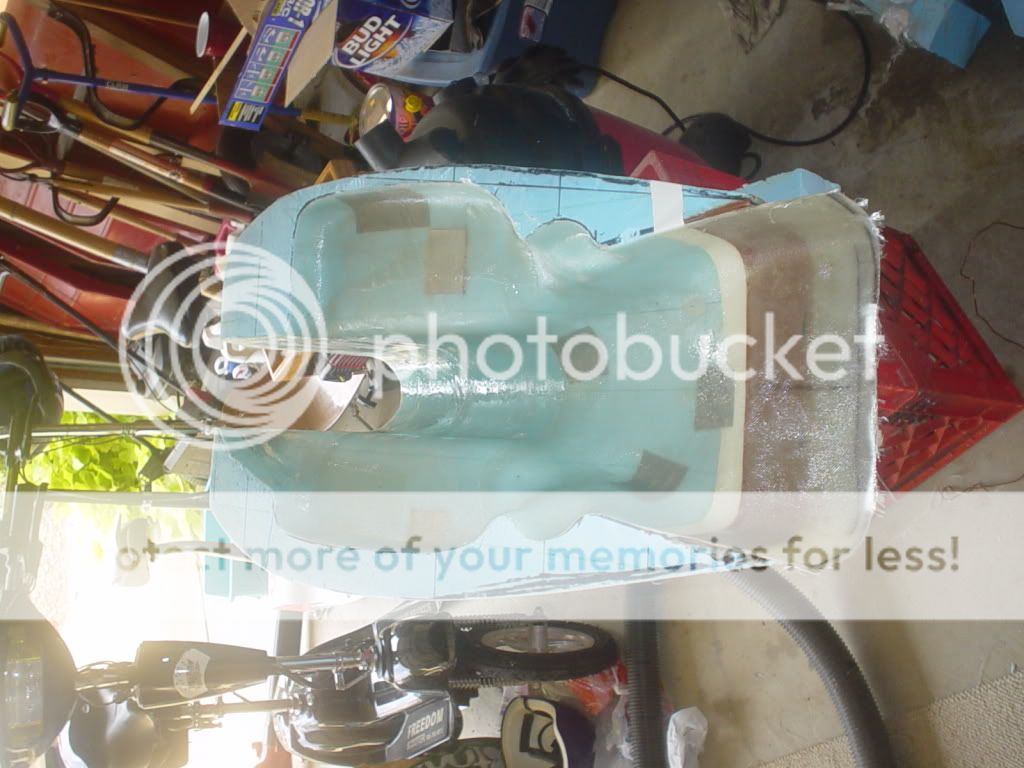
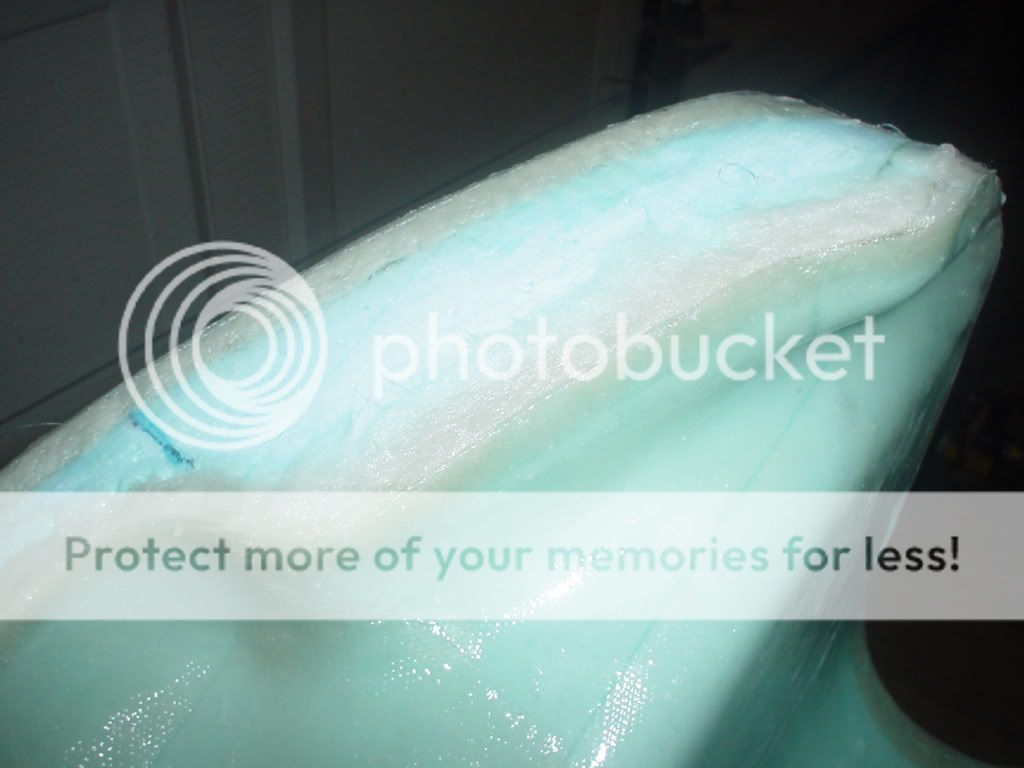
The fiberglass cloth I used was given to me by a friend in the aerospace industry. I'm not exactly sure what it is, but I believe it's "S" glass.
I used West System epoxy (slow cure) from West Marine. It's pretty expensive at about $140 for a gallon of resin + hardner, but it's really good stuff, has almost unlimited shelf life and there's plenty of left over from this seat/tank project for a bunch of other stuff. They also sell a pump kit that makes measuring out the resin properly (very important) a no-brainer.
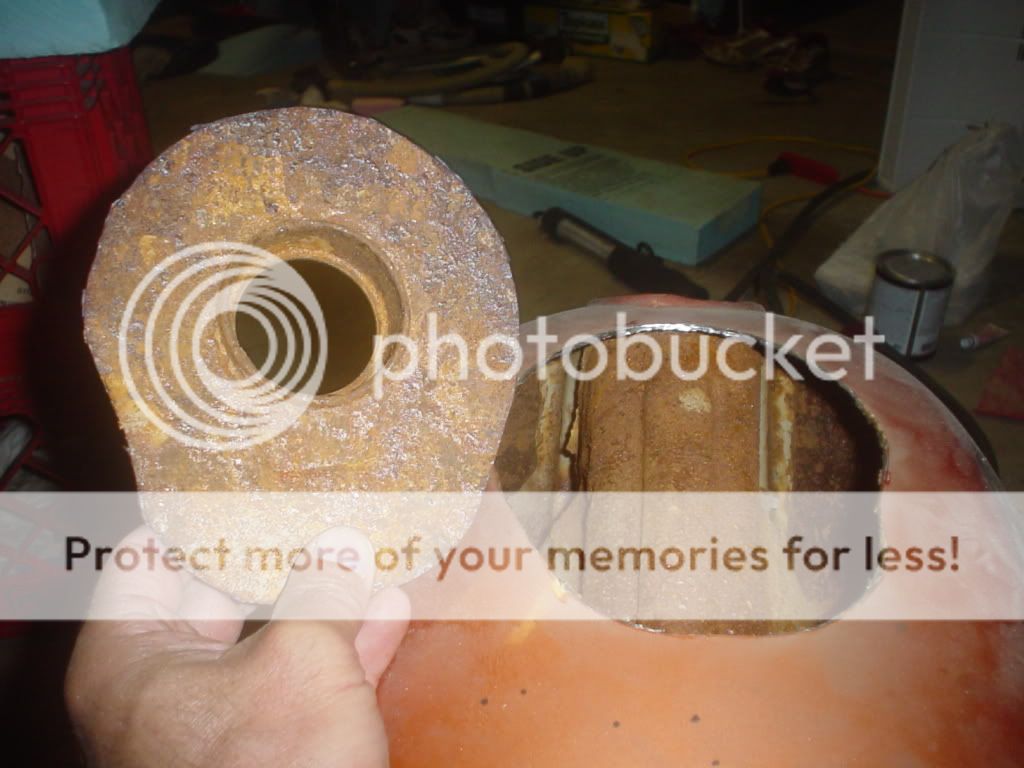
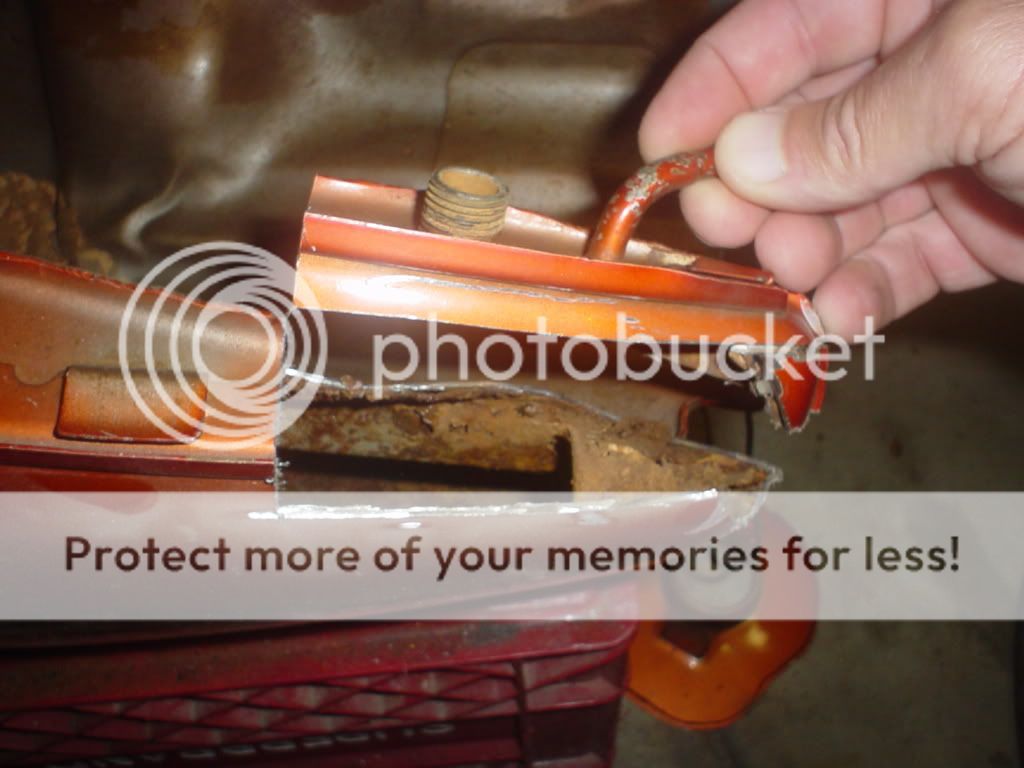
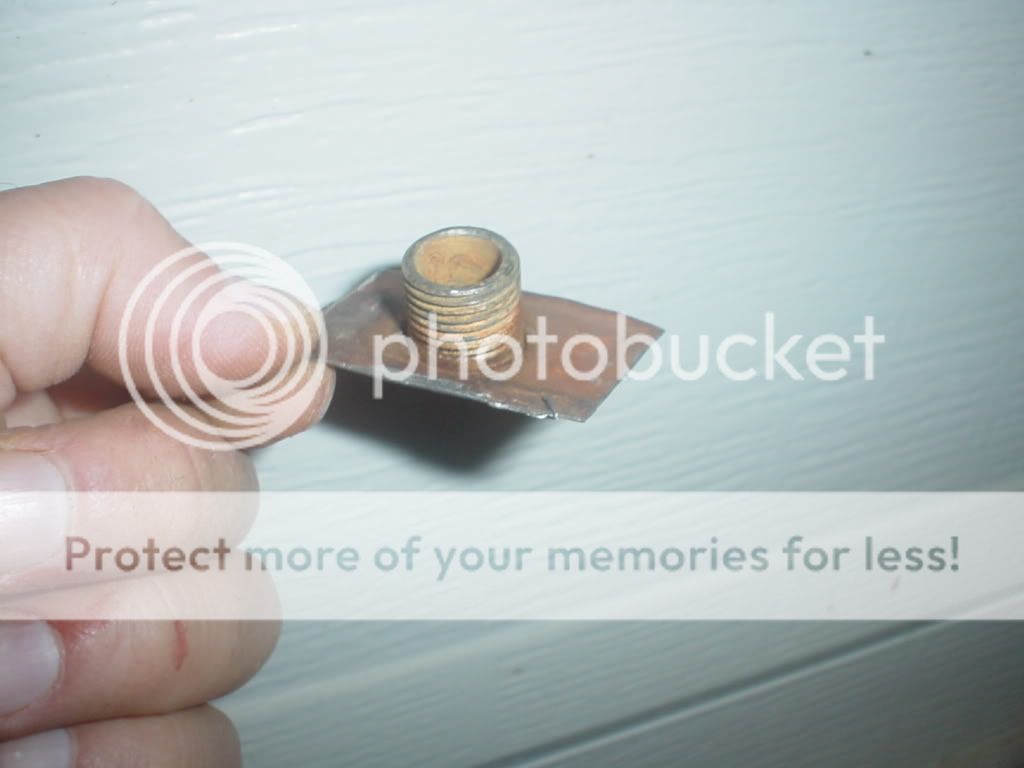
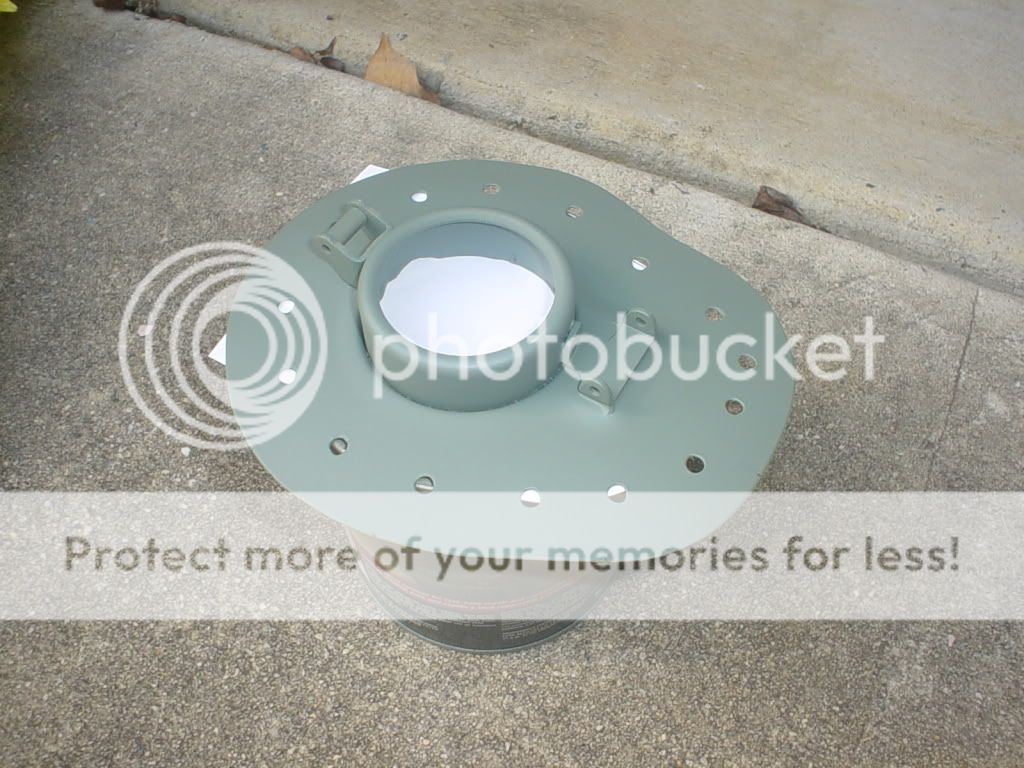
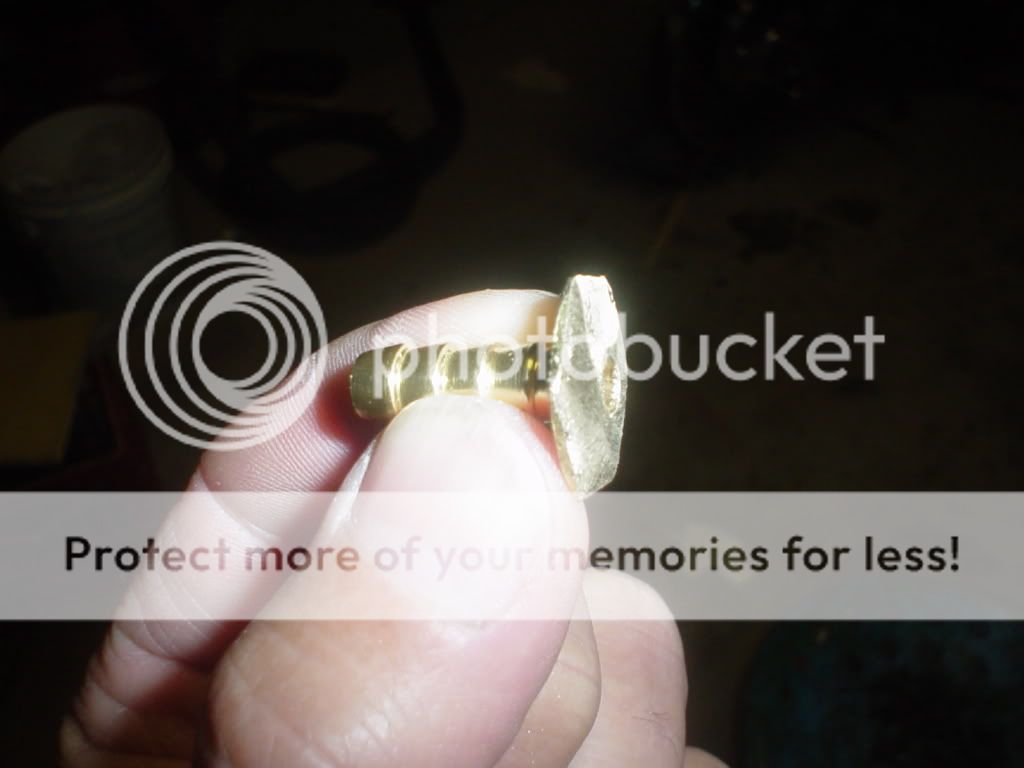
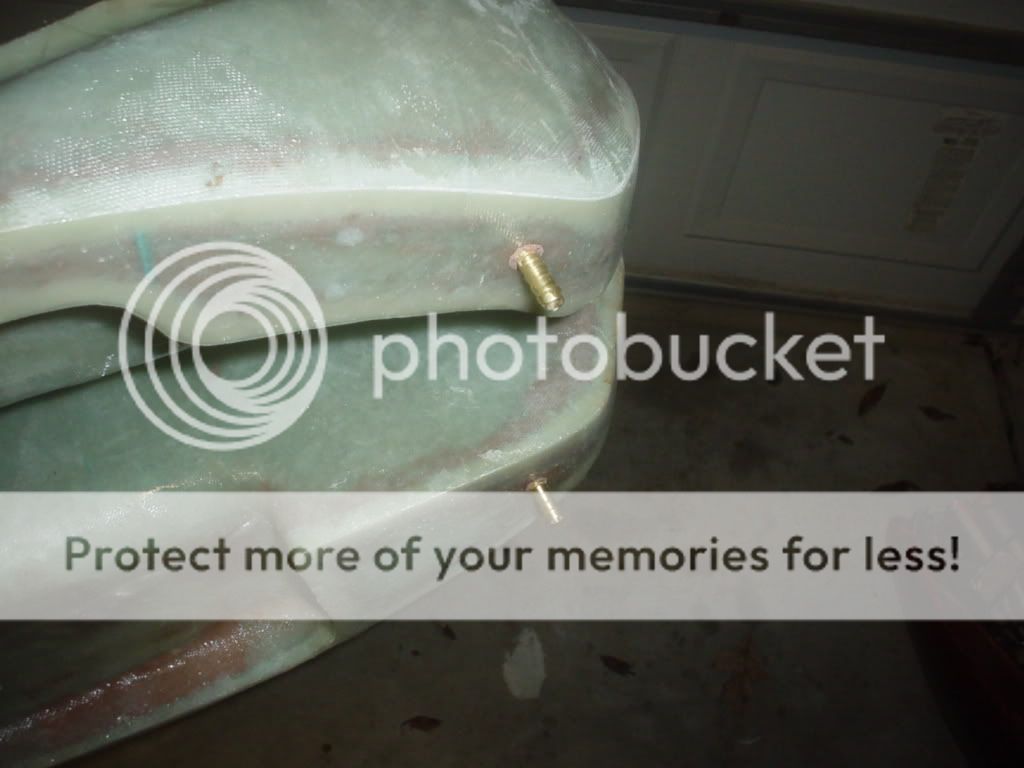
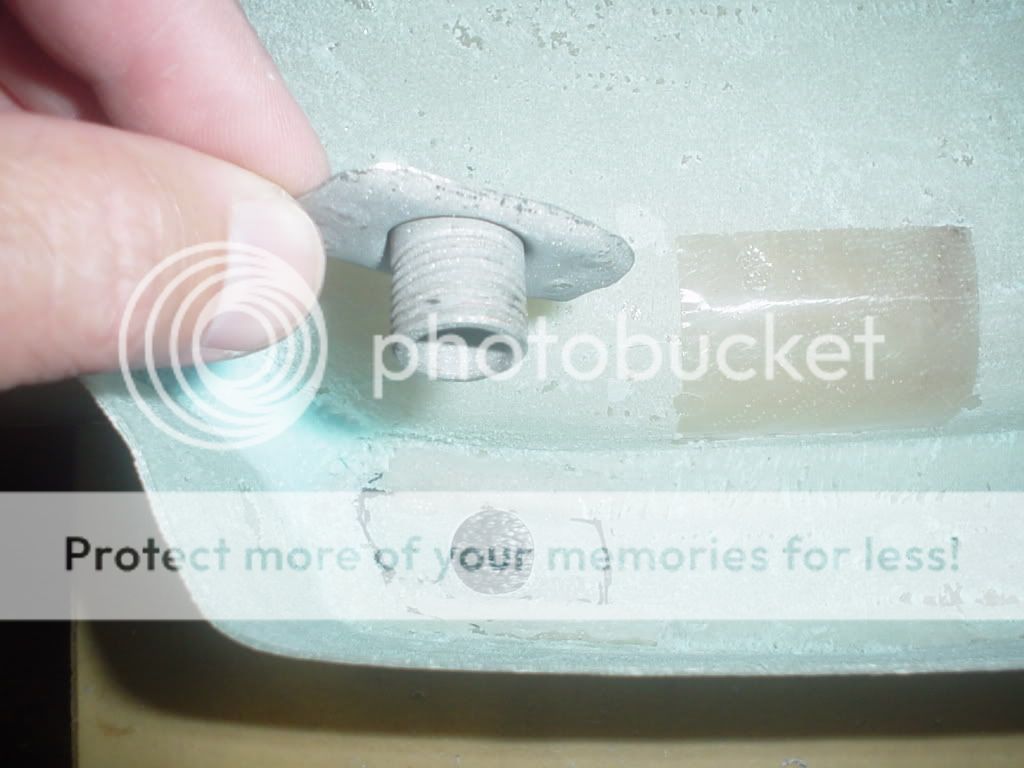
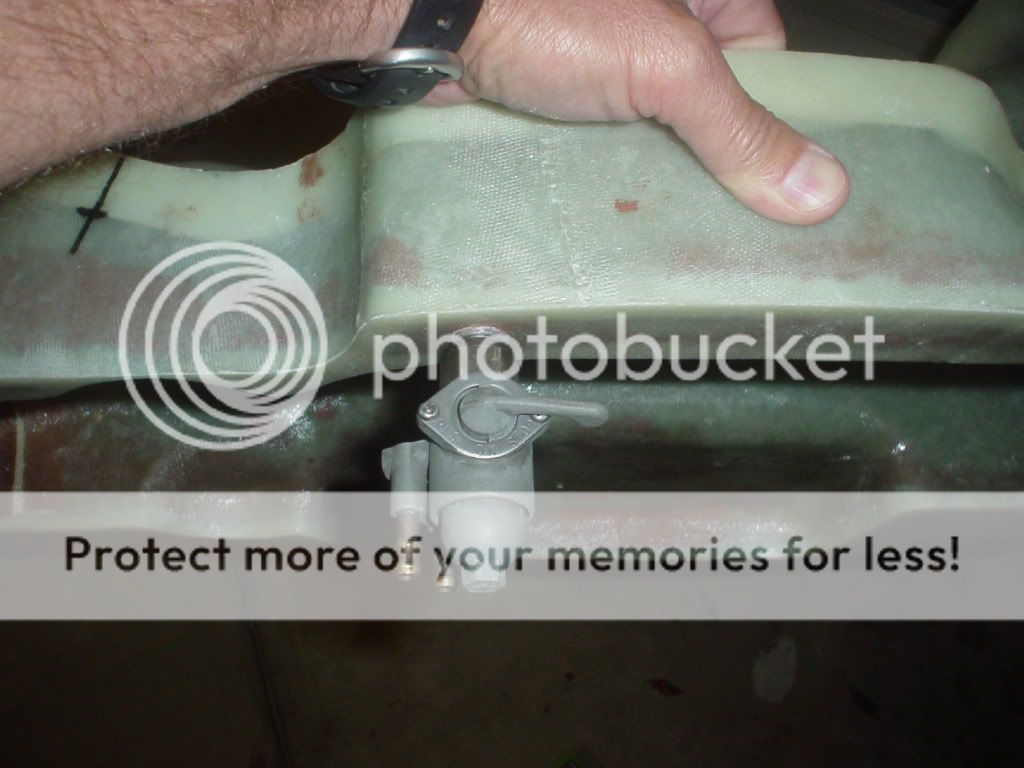
The original tank was fairly rusty on the inside and not worth much so it became the donor for the filler neck, petcock bung and mounting points
Sorry about the long-winded intro. Next post: The build begins.
CC
Before I get into the meat of the build, allow me a few minutes to explain a few of the reasons I decided to go this route and why the design turned out as it did.
The reasons:
1. I wanted to end up with something unique and one-of-a-kind.
2. I like building things.
3. I like doing things the hard way.
4. I'm not very smart.
5. I like doing things the hard way.
The design:
Since this was going to be a one-off tank, I saw no reason in going to the trouble and expense of making a plug and female mold. Althought a male mold has its own challenges (getting a good finish on the exterior and getting the foam out of the interior) I figured it would take less time and material to do it this way.
My design was overly complicated due to way I wanted the tank to work with my seat pan/cowl. When I built the seat pan (another story), I left a fairly long "skirt" around the bottom. I wanted the tank to match up with the pan, which required the tank to be low and actually wrap around the engine head. I 'm still not sure if this was a good idea, we'll have to wait for the bike to come together and see how it all looks finished. My seat also ended up with a pretty large cowl (recessed tail light and hiding a full sized battery), so I wanted a large tank to balance things out visually.
The materials:
The mold was made out of your basic polystyrene building insulation. I work in the civil engineering/surveying business and I was able to collect some nice 3" thick scraps of insulation from a construction site where I was working.
The fiberglass cloth I used was given to me by a friend in the aerospace industry. I'm not exactly sure what it is, but I believe it's "S" glass.
I used West System epoxy (slow cure) from West Marine. It's pretty expensive at about $140 for a gallon of resin + hardner, but it's really good stuff, has almost unlimited shelf life and there's plenty of left over from this seat/tank project for a bunch of other stuff. They also sell a pump kit that makes measuring out the resin properly (very important) a no-brainer.
The original tank was fairly rusty on the inside and not worth much so it became the donor for the filler neck, petcock bung and mounting points
Sorry about the long-winded intro. Next post: The build begins.
CC
")